WordPress Hosting Transfer
WordPress Hosting Transfer
In this chapter, we’ll learn how to transfer WordPress to a new hosting platform.
Here, we’ll use Hostinger web hosting to transfer a WordPress website to another host.
Simply follow these simple steps to transfer your WordPress website to another host.
Step (1) – Back up WordPress files and export the database. We will discuss this in detail in the next chapter: WordPress – Backup and Restore
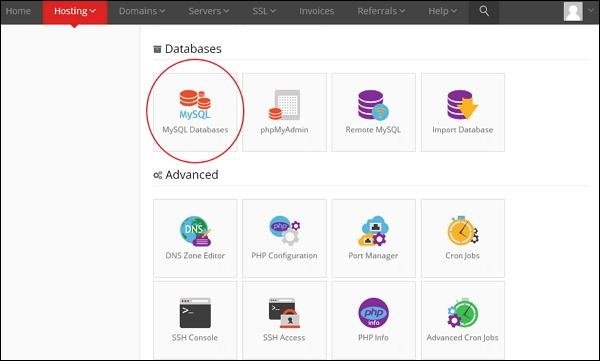
Step (2) – Log in to your cPanel and click on MySQL Databases as shown below.
Step (3) − Follow the steps shown on the screen below to create a new database and MySQL user. The page contains the following fields −
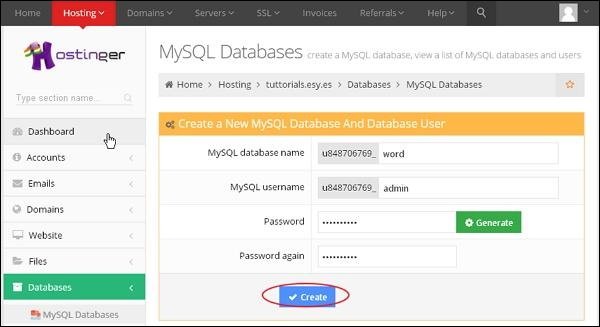
- MySQL Database Name − Enter your database name.
-
MySQL Username – Enter your username.
-
Password – Set your database password.
-
Re-enter Password – Set the same password as the previous one again for authentication.
After filling all the fields, click on the Create button.
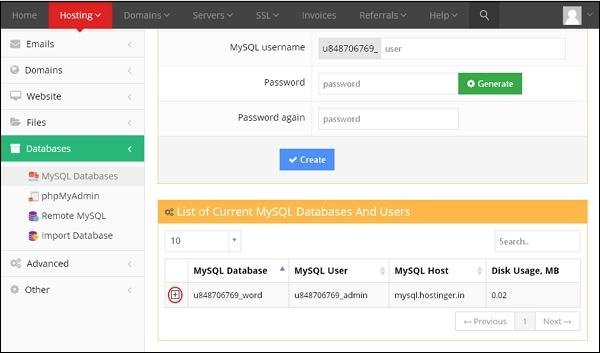
Step (4) – You can view the MySQL database, user and host you created in the following screen.
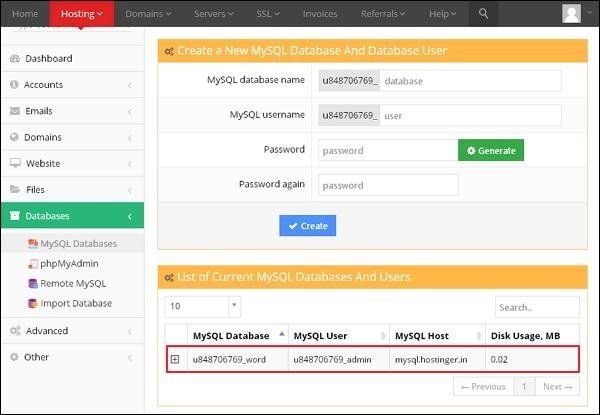
Step (5) − Click on the “+” symbol.
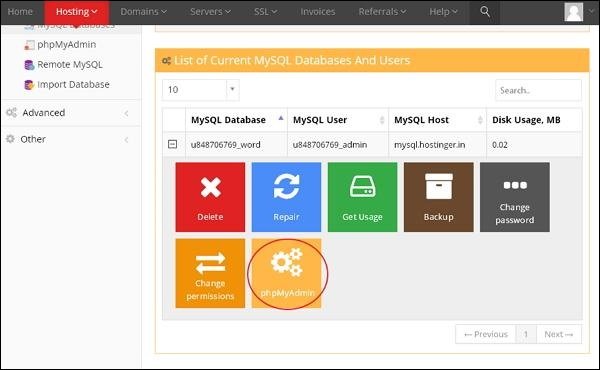
Step (6) − Click on phpMyAdmin .
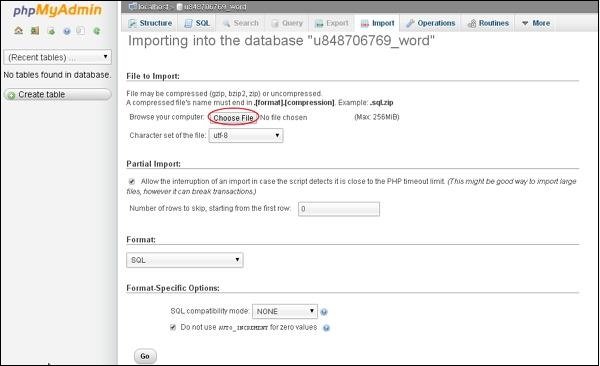
Step (7) − Click the Import tab on the phpMyAdmin page.

Step (8) − Click the Choose File button to select the backup file from your system and then click the Go button.
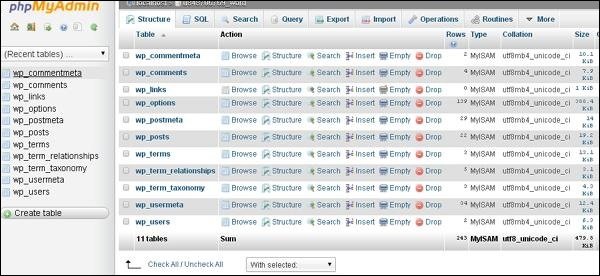
Step (9) − You can view the table of the uploaded database as shown in the following screen.
Step (10) − Upload your WordPress files using File Transfer Protocol (FileZilla) according to the examples in the WordPress – Backup and Restore chapter.
Step (11) − Edit the wp-config.php file according to the example in the WordPress – Backup and Restore section.
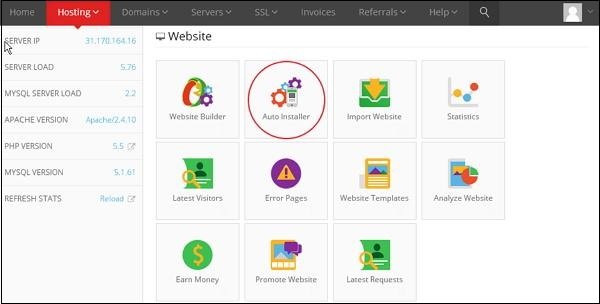
Step (12) − In the “hostinger” website section, click on Auto-installer .
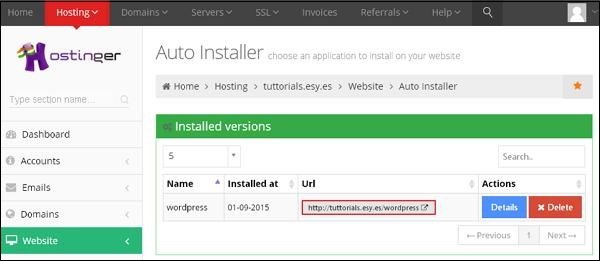
Step (13) − You can view the files uploaded by WordPress. Click on the URL link shown in the following screen.
Step (14) − You can view the WordPress login page.
