Overlaying one image on top of another in Python
Overlaying One Image on Another in Python
Overlaying an image refers to the process of copying the data from one image onto another. Overlaying can also refer to other types of image processing methods, such as adding similar images together for noise reduction and blending. For now, we’ll focus on the former. In this article, we’ll learn how to use image processing methods to overlay one image on top of another.
Required Modules:
Pillow: Python The Imaging Library (an extension of PIL) is the de facto image processing package for the Python language. It integrates lightweight image processing tools for editing, creating, and saving images.
pip install pillow
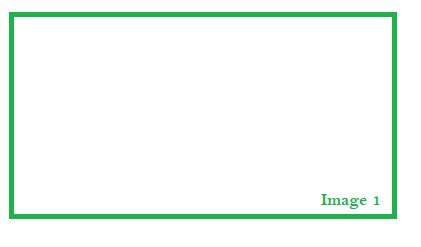
For demonstration purposes, we will use the following image as the main image.
Example 1: Overlaying an alpha image.
If we overlay an image containing transparent areas on top of an opaque image, only the opaque areas of the overlaid image will appear in the final image. Pixels may not be completely opaque, so they can have simulated opacity (alpha channel). This type of overlay is most useful because it allows images to blend seamlessly.
To overlay images, we will use the paste() function from the pillow library.
Syntax: paste(self, im, box=None, mask=None)
Paste another image into this image.
Parameters:
- im: Source image or pixel values (integer or tuple).
- box: An optional 4-tuple giving the area to paste. If a 2-tuple is used instead, it is considered the top-left corner. If omitted or not present, the source image is pasted at the top-left corner.
- mask: An optional mask image.
To demonstrate, we’ll overlay the following images:

Here’s the implementation:
from PIL import Image

# Opening the primary image (used in background)
img1 = Image.open(r"BACKGROUND_IMAGE_PATH")

# Opening the secondary image (overlay image)
img2 = Image.open(r"OVERLAY_IMAGE_PATH")

# Pasting img2 image on top of img1
# Starting at coordinates (0, 0)
img1.paste(img2, (0,0), mask = img2)

# Displaying the image
img1.show()
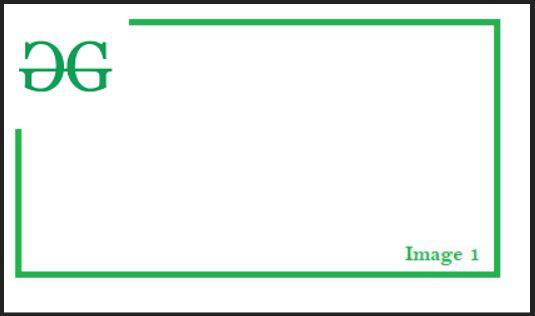
Output:
Explanation:
First, we open the main image and save its image object to the variable img1. Then we open the image to be used as the overlay and save its image object to the variable img2. We then call the paste method to overlay/paste the passed image onto img1. The first argument is img2, an image object containing transparent text. This image will be used for the overlay. The second argument is a tuple of size 2, indicating the coordinates of img1 where img2 should be pasted. Since it is (0, 0), the second image will be pasted above and to the left of img1. The third argument is img2, which is passed to the mask argument. It specifies the transparency mask for img2. Finally, we display the image.
Example 2: Overlaying a Non-Alpha Image
If we overlay a completely opaque image on top of an opaque image, all pixel values of the overlaid image are retained in the final image. However, pixel values of the background image are lost in the process (in the areas occupied by the overlaid image).
We will use the following image as the overlay image.
Here’s the implementation:
from PIL import Image

img1 = Image.open(r"BACKGROUND_IMAGE_PATH")
img2 = Image.open(r"OVERLAY_IMAGE_PATH")

# No transparency mask specified,
# Simulating an raster overlay
img1.paste(img2, (0,0))

img1.show()
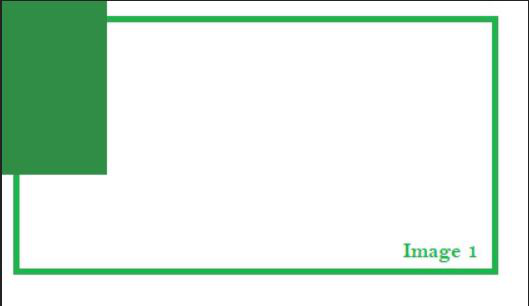
Output:
Explanation:
This code is essentially the same as the previous one, so the only changes are of interest. In the call to the paste method, we omitted the mask parameter, which causes the overlay layer to not use a transparency mask. Therefore, the image is simply copied and pasted onto img1. Because the pixel values of img2 are copied unchanged, the white background appears in the output image. This gives the viewer a clue that the image has been modified due to the abrupt color changes found in the final image, without giving much thought to the quality of the final image (this is mitigated somewhat when the overlaid image contains transparent areas).


