Python Pillow and Numpy combined
Using Python Pillow with NumPy
In this chapter, we use NumPy to store and process image data using the Python Imaging Library – Pillow.
Before continuing with this chapter, open a command prompt in administrator mode and execute the following command to install numpy —
pip install numpy Tutorial">numpy
Note – This will only work if you have PIP installed and updated.
Creating an Image from a Numpy Array
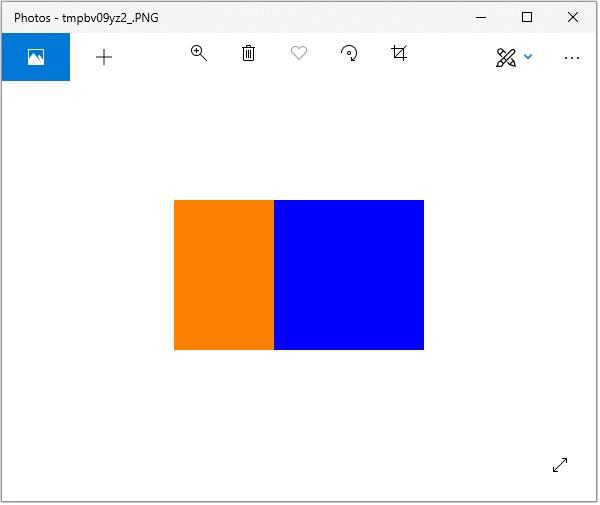
Use PIL to create an RGB image and save it as a jpg file. In the following example, we will:
- Create an array of 150×250 pixels.
-
Fill the left half of the array with orange.
-
Fill the right half of the array with blue.
from PIL import Image
import numpy as np

arr = np.zeros([150, 250, 3], dtype=np.uint8)

arr[:,:100] = [255, 128, 0]

arr[:,100:] = [0, 0, 255]

img = Image.fromarray(arr)

img.show()

img.save("RGB_image.jpg")
Output

Creating a Grayscale Image
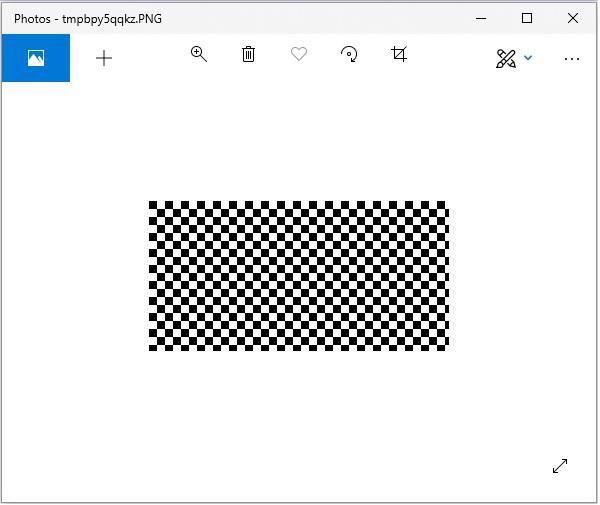
Creating a grayscale image is slightly different from creating an RGB image. We can use a two-dimensional array to create a grayscale image.
from PIL import Image
import numpy as np

arr = np.zeros([150,300], dtype=np.uint8)

#Set gray value to black or white depending on x position
   for x in range(300):
      for y in range(150):
         if (x % 16) // 8 == (y % 16)//8:
            arr[y, x] = 0
         else:
            arr[y, x] = 255
img = Image.fromarray(arr)

img.show()

img.save('greyscale.jpg')
Output

Creating NumPy Arrays from Images
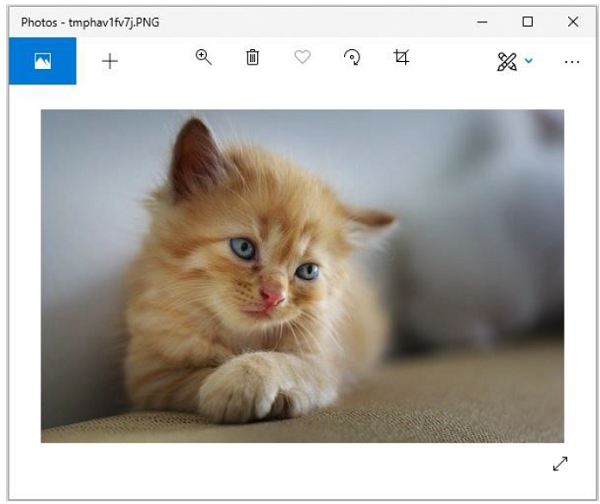
You can convert PIL images to NumPy arrays and vice versa. Here’s a small program to demonstrate this.
Examples
#Import required libraries
from PIL import Image
from numpy import array

#Open Image & create image object
img = Image.open('beach1.jpg')

#Show actual image
img.show()

#Convert an image to numpy array
img2arr = array(img)

#Print the array
print(img2arr)

#Convert numpy array back to image
arr2im = Image.fromarray(img2arr)

#Display image
arr2im.show()

#Save the image generated from an array
arr2im.save("array2Image.jpg")
Output
If you save the above program as Example.py and execute it:
- It displays the original image.
-
It displays the array obtained from it.
-
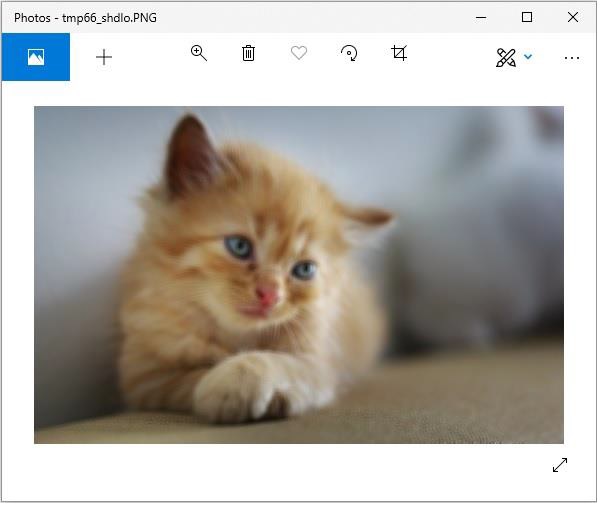
It converts the array into an image and displays it.
-
Because we used the show() method, the image is displayed using the default PNG display tool, as shown below.
[[[ 0 101 120]
[3 108 127]
[1 107 123]
...
...
[[ 38 59 60]
[37 58 59]
[36 57 58]
...
[74 65 60]
[59 48 42]
[66 53 47]]
[[ 40 61 62]
[38 59 60]
[37 58 59]
...
[75 66 61]
[72 61 55]
[61 48 42]]
[[ 40 61 62]
[ 34 55 56]
[ 38 59 60]
...
[ 82 73 68]
[ 72 61 55]
[ 63 52 46]]]
Original image

Image constructed from arrays
