WordPress Background
WordPress Background
In this chapter, we will learn about background images, background colors, and background transparency.
Step (1) – Click Appearance → Background .

Step (2) − The next page appears with the Background Image section displayed.
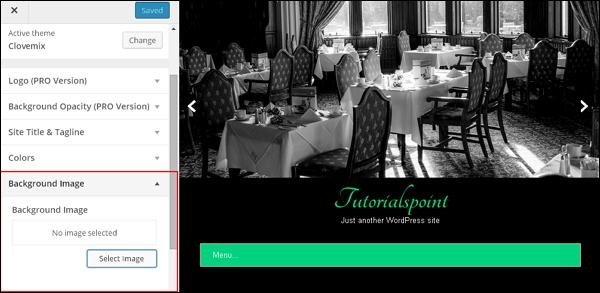
Step (3) − No background image is selected. If you want to do so, click Select Image . You will get the following page.
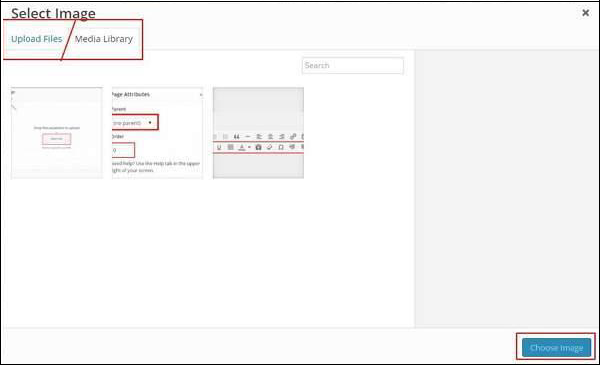
Here, you can upload images using two options.
- Upload Files
- Media Library
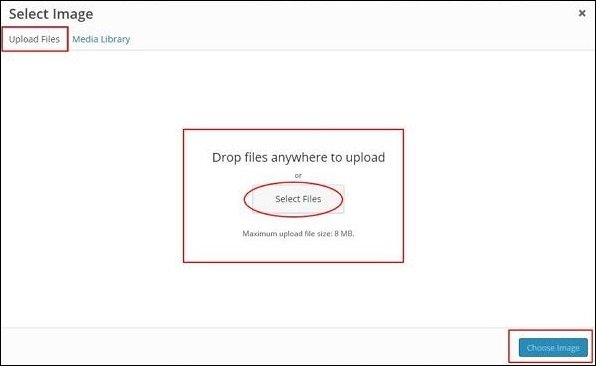
Step (4) − Upload Files − When you click on “Upload Files”, the following screen will appear. Select the file from your desktop and click on Select Image if you are satisfied with the image.
Step (5) − Media Library − When you click on Media Library, the following page will appear. Select a file from the WordPress Media Library, which means that if you have already updated the image, then you can directly select one of them.
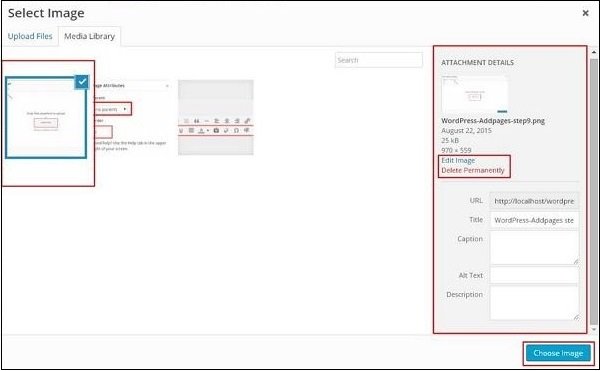
Once you’ve selected an image, you’ll be given several options on the right-hand side.
- Edit Image – Clicking this option will take you to a page where you can edit the image’s scale, dimensions, cropping, and thumbnail settings. Once you’ve made the desired changes, click Save and then Update, as shown below.
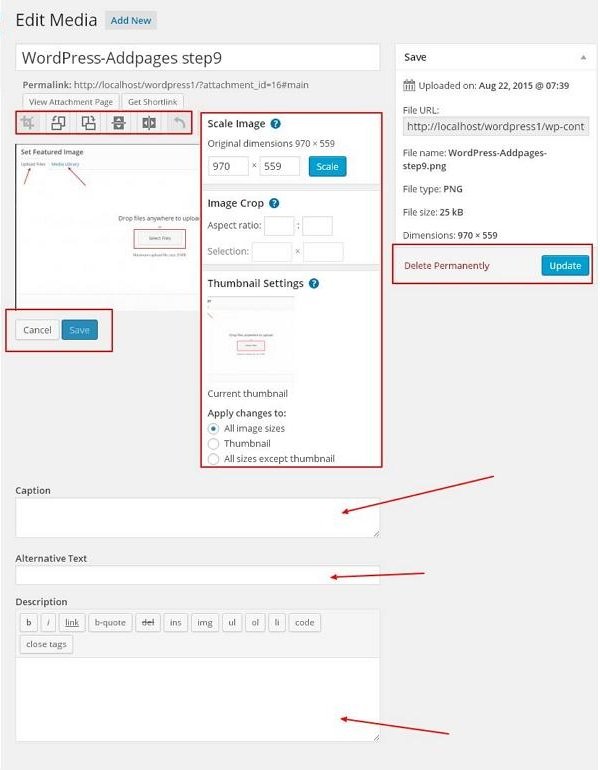
- Delete Permanently − Click this button if you want to delete the image from your library.
-
URL − Enter your image URL into this box.
-
Title − If you want to change the title of your image, you can do so here.
-
Subtitle − This section allows you to briefly explain your image.
-
Alt Text − Provide alternative text for your image so users can easily find it when searching.
-
Description − A brief description of your image.
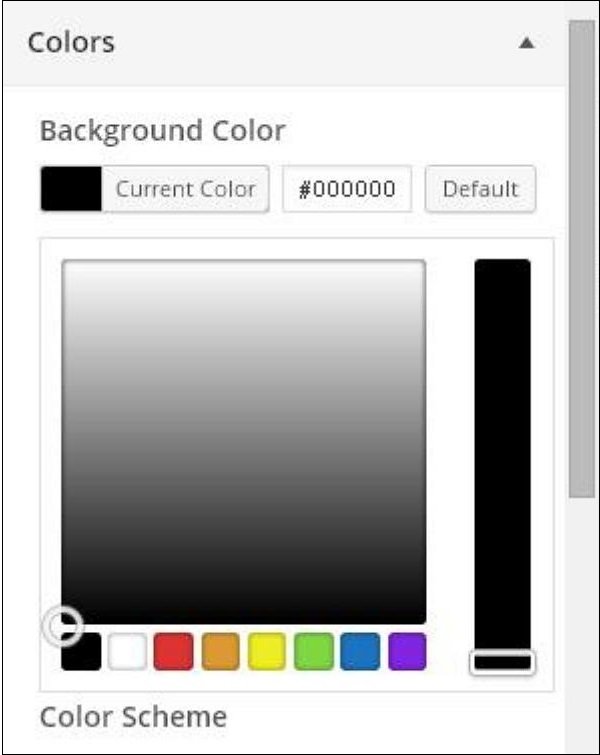
Step (6) − Click Colors → Background Color on the same page. Change the background color as needed. Background opacity is not used by all themes. Theme customization is not available for every theme and varies from theme to theme.
